
Are you tired of Ads? Then you’ve come to the right place.
Adblockers can only do so much. There comes a point when you have to go for the source and this guide will help you do just that – Create a DNS Sink hole for all the Ads to go to.
Here’s what you’ll need:
Once you have the hardware ready it is time to install the Operating system on it.
To do so, install the Raspberry pi 5 Imager from the official website.
https://www.raspberrypi.com/software
Insert the 64gb Sandisk SDcard into your PC and start the Imager.
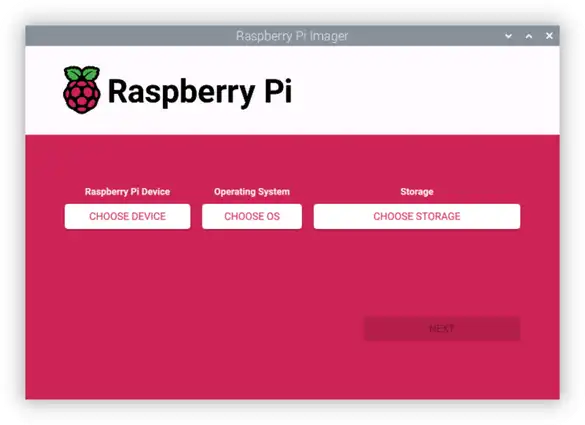
Select Raspberry pi 5 from the categories given, then the latest Raspberry PI OS at the time then finally select our 64gb Sandisk SDcard and start the process.
It will start writing the Operating system onto the SDCard.
Once completed insert the SDCard into the SDcard slot of the Raspberry PI (it is right underneath it) then plug in the wires.
Micro HDMI to the micro HDMI slot , it’s other end to the TV we want to use. Official power supply goes into the Type C slot.
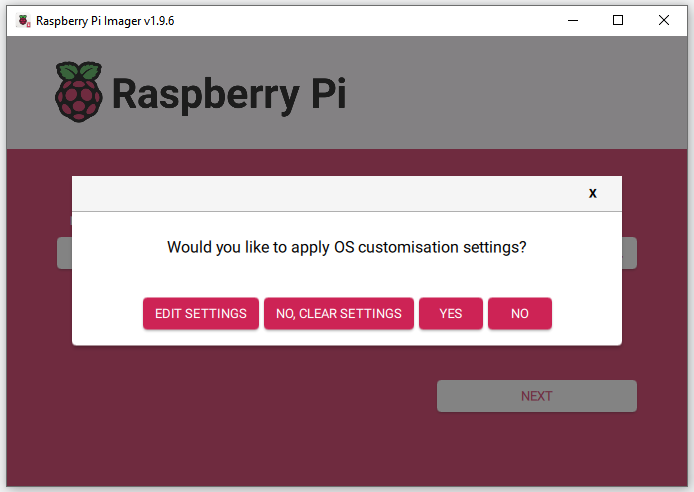
Now select Raspberry pi 5 from the categories given, then the latest Raspberry PI OS at the time then finally select our 64gb Sandisk SDcard and press “Next”. You’ll be prompted to customise OS settings. Enter “Edit Settings”.
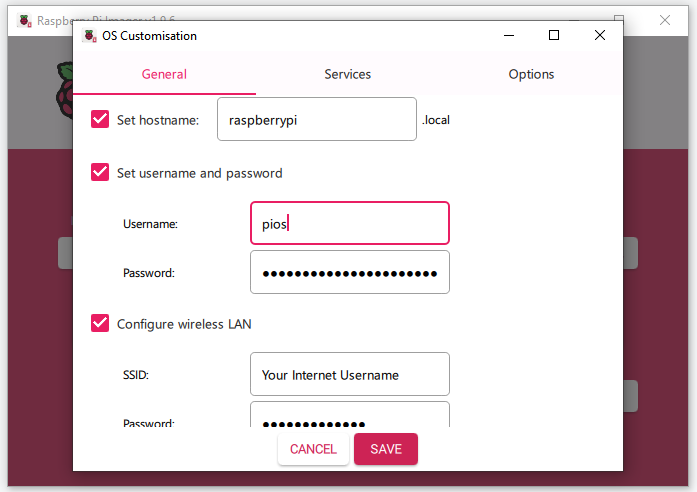
Fill in username, password as well as your Wifi username and passowrd for seamless internet connectivity once the device is connected.
In the Services tab enable SSH
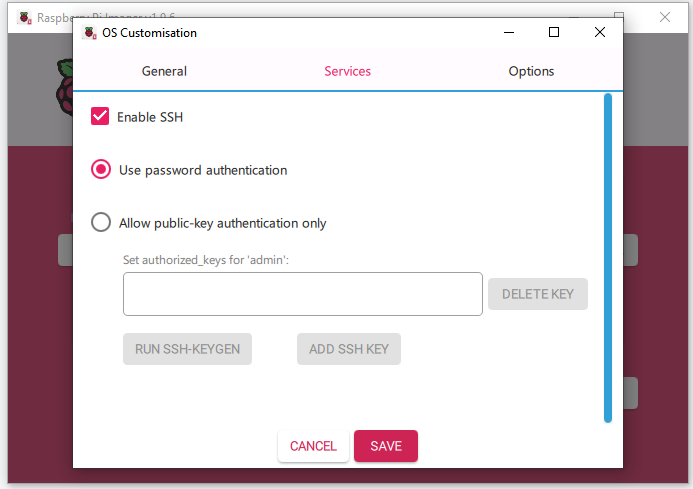
Once done press yes to start the writing process.
Now insert the SDcard into the Pi and connect the power supply.
Now open your terminal. Enter the ssh command. This command will be: ssh yourusername@password that you have just set.
Do not worry about not seeing the password being written, it is just invisible for security purposes.
Now you should have connected your Raspberry pi headlessly! Congraulations!
Now all you have to do is run the following command:
- sudo apt update && sudo apt upgrade -y
This will update and apply all the settings
Install Pi-hole using the command on their website. Which currently is:
- curl -sSL https://install.pi-hole.net | bash
But you should still see go through their website and see documentation for study purposes.
Keep pressing yes/continue. Select Cloudflare when asked which DNS upstream to use.
In the end once the installation completes select a username and a password for yout Pi-Hole interface. Change it if you want to by running
- sudo pihole setpassword
Enter your IP in your browser and you should be able to see UI.
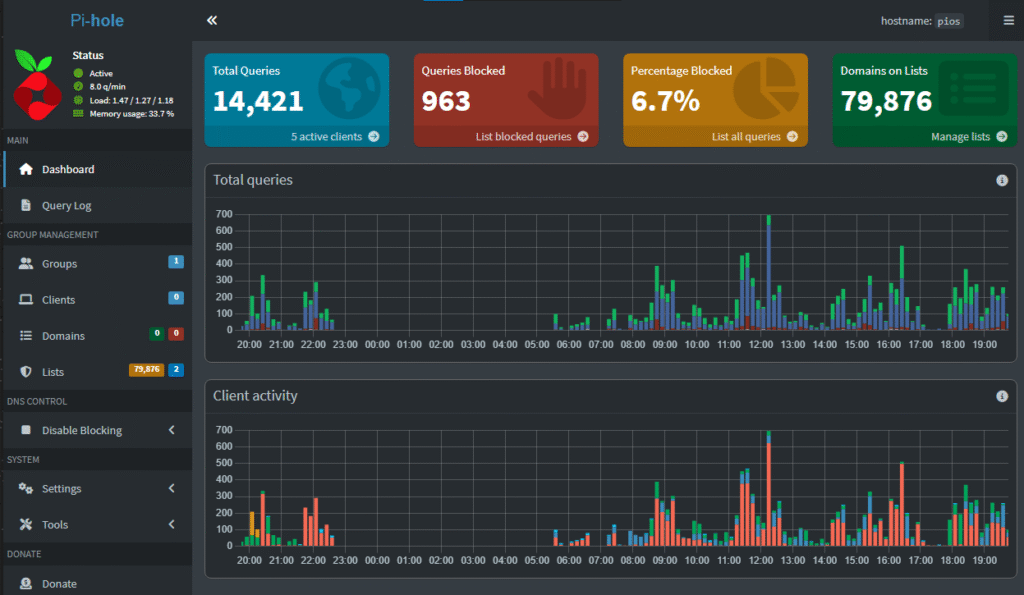
But wait there’s more. Do not worry we’re almost done now!
Now onto the Router part of things. Login to your router. How you will do this is enter the IP address of your router in your browser. You can find your router IP by typing the ipconfig command in Windows and it’s equivalent command in other Operating systems and searching for “Gateway”.
Enter the Gateway IP in your browser and you will be greeted by your Router Login page. Here enter the credentials for your router. Usually these are admin for username and the password is written physically behind the router itself.

Once you are logged in to your Router. Go to LAN settings and enter the IP of your Raspberry pi in the Primary DNS entry. Save and Refresh. This should take a 1-2 minutes.
NOTE: The Secondary DNS entry is NOT a backup entry that will be activited when the first is down but instead is used in parallel so do not enter anything into it else your Pi-hole will be useless.
Your Pi-hole is now active!
There is one final step before we cut the cake. That is we want to have our Raspberry Pi have a static IP otherwise there is a chance that on Routrer Restart there will be a change in the Raspberry Pi’s IP.
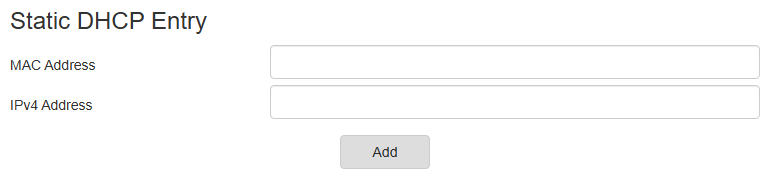
To set a static IP go to DHCP settings and add your Raspberry Pi’s current Mac Address and IP and add it’s entry. This will cement it’s IP and it will not change even after a Router restart.
This concludes the final step in setting up your own Network level Adblocker!
Congratulations! You now have a running Network Ad Blocker!