
Want to run WordPress locally on your system to test out all kinds of stuff and experiment to your hearts content without messing up your actual site? You’ve come to the right place.
First we will need to have Installed the Raspberry Pi OS on your Raspberry PI already. For those instructions you can see this guide here.
Once you have the OS installed we will move onto installing the prerequisites of WordPress itself. Namely Apache web server and PHP.
Enter the following command to install the Apache web server.
sudo apt-get install apache2 -yOnce done reboot your system.
Apache should now be installed. To see whether it has installed properly enter your IP in your browser’s address bar.
You should be able to see it’s default web page.
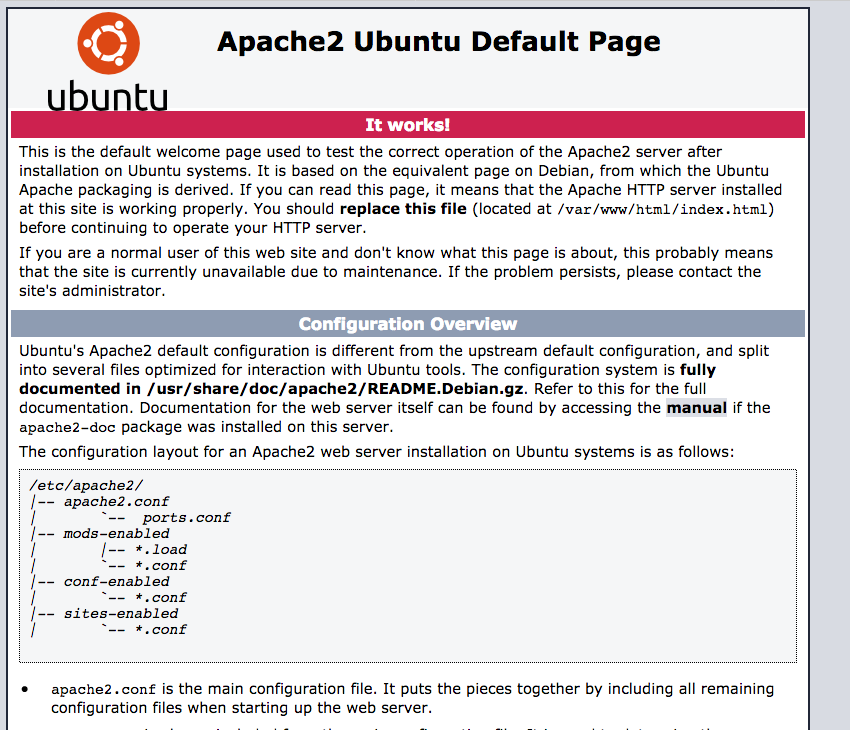
The default page above is showing the index.html file at the following location: /var/www/html/index.html
You can edit the index.html file to see whether changes take place. Make sure to refresh your browser tab.
Now onto installing PHP.
sudo apt install php -yYou can create a index.php file at the /var/www/html/ and see there you can view it through your browser by typing https://yourIPaddress/index.php
Now let’s see to our database. Enter the following command to install it. It is called MariaDB and is a variant of MySQL Database.
sudo apt install mariadb-server php-mysql -ysudo service apache2 restartNow you should have the database installed.
Now head to cd /var/www/html/ and delete all files using:
sudo rm *Now we shall download the latest wordpress edition
sudo wget https://wordpress.org/latest.tar.gzExtract it using:
sudo tar xzf latest.tar.gzMove the extracted content a level up using:
sudo mv wordpress/* .Remove the tar file and the extracted folder that we no longer need:
sudo rm -rf wordpress latest.tar.gz

sudo rm -R wordpress/
Give valid read and write permission to the extracted files:
sudo chown -R www-data: .The fullstop at the end of the command means current directory.
Configuring MariaDB:
Let’s create a user for our database, for that we must enter it.
sudo mysql -urootLet’s now create that user then the database
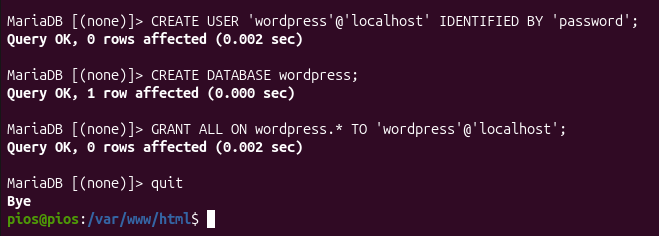
CREATE USER 'wordpress'@'localhost' IDENTIFIED BY 'password';

CREATE DATABASE wordpress;

GRANT ALL ON wordpress.* TO 'wordpress'@'localhost';

quit
Now our wordpress site should be ready.
http://EnterYourIpHereAnd you will be greeted with the wordpress installation page!
Enter the credentials that you want to set for your set and that should land on the main landing page with the dashboard button on the top left of the screen.
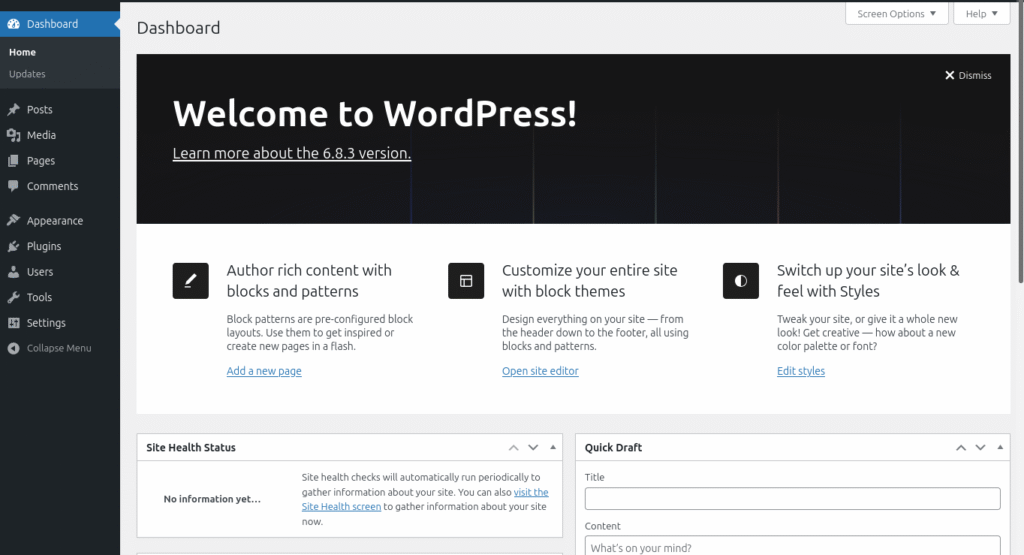
Here you can do all sorts of experiments, projects and modifications.

You can even download different themes from the internet in the appearance options and apply them to see which fits your to-be website or blog the best.
If you want your website to reach the internet through port forwarding know that it is a security risk for your home network for you to do so.
Instead look into other solutions such as cloudflare tunnels or reverse proxy.
Congratulations! You have hosted a wordpress website locally on your system!