
Do you have old Hard drives lying around gathering dust or just want some extra storage but there aren’t any storage slots left in your device? Then this guide will teach you how get yourself a NAS – Network Attached Storage using Samba Server on a Raspberry Pi.

First we will need to have Installed the Raspberry Pi OS on your Raspberry PI already. For those instructions you can see this guide here.
If you don’t get a good storage device then I recommend the Samsung 870 EVO 500GB SATA SSD.
Once you have all that covered and the OS installed the rest is relatively simple.
Enter the following command:
- sudo apt update && sudo apt upgrade -y
This is an update command and will ensure everything is up to date. Now before we go ahead backup all data to some other device.
Once done, insert your storage that you want to use. Partition your drive so Raspberry Pi OS recognizes it as a single storage device using:
$ sudo fdisk /dev/sdaWhen prompted:
- Enter
nto create a new partition. - If a partition already exists, use
dto delete it. - Enter
pfor primary partition.
Use the default option for all other prompts.
Format drive
Now that the drive has been partitioned, we need to format it so Raspberry Pi OS can read and write data. The following command formats your drive into the ext4 file system:
$ sudo mkfs.ext4 /dev/sda1Mount drive
Next, mount the drive to make it available to the file system on your Raspberry Pi:
$ sudo mount /dev/sda1 /mnt/sda1And ensure that the drive is mounted after each boot. For that we need to find out it’s UUID. This can be done by typing the following command:
$ blkidNote your UUID then type the following command to edit the fstab file to ensure that the drive is mounted after each boot:
$ sudo nano /etc/fstabAdd the following line at the end of the file:
UUID=YOUR-UUID-GOES-HERE /mnt/sda1/ ext4 defaults,nofailPress Ctrl+X, then Y, and finally Enter to save the edited file with nano.
The nofail parameter ensures that even if you do not have your external hard drive inserted, your system will still bootup.
Create a shared folder
Run the following command to create a shared folder on your drive:
$ sudo mkdir /mnt/sda1/sharedRun the following command to grant read, write, and execute permissions to the folder to all users on your Raspberry Pi:
$ sudo chmod -R 777 /mnt/sda1/sharedShare drive over your network
Run the following command to install Samba, a tool that shares directories over a network between computers:
$ sudo apt install samba samba-common-binThen tell Samba to share the directory over the network. We can give Samba instructions via the Samba configuration file, smb.conf. Open the configuration file in an editor:
$ sudo nano /etc/samba/smb.confAnd add the following line at the end of the file:
[shared]
path=/mnt/sda1/shared
writeable=Yes
create mask=0777
directory mask=0777
public=no
force user= pi-nas-user
Press Ctrl+X, then Y, and finally Enter to save the edited file with nano.
Restart Samba to load the configuration changes:
$ sudo systemctl restart smbdGrant drive access
Finally, you’ll want to grant access to your Samba share so only authenticated users can access files over the network.
Run the following command to create a user to manage Samba sharing:
$ sudo adduser pi-nas-userAnd add a password to that user with the following command:
$ sudo smbpasswd -a usernameFinally install sudo wsdd and wsdd-server:
sudo apt install wsdd sudo apt install wsdd-serverNow run the following command:
sudo apt install wsdd-server startNow check the status of your server using the following command:
sudo apt install wsdd-server status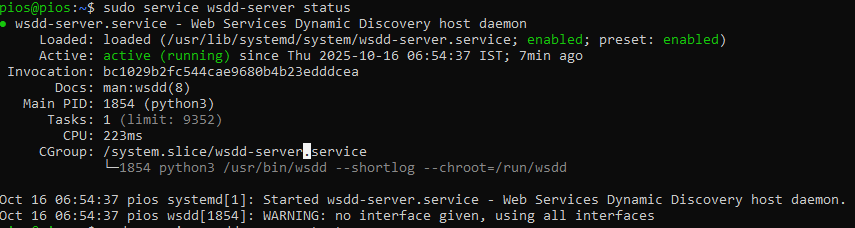
It should be running else restart the service using:
sudo apt install wsdd-server restartNow we should be able to see our shared folder over our networks.

Enter it and you will be prompted for your credentials. Enter your credentials and you should be inside.
In case of access denial, reset the password by typing the following command:
sudo smbpasswd -a pi-nas-userElse give the ownsership of the folder to pi-nas-user using chown and chmod commands.
sudo chown pi-nas-user /mnt/sda1/sharedsudo chmod -R 777 /mnt/sda1/sharedAnd that should be it!
You have now finally created your own Network Attached Storage!!!
Congratulations!!